A homemade incubator is like your own mini hatchery, letting you hatch eggs whenever you need. Sometimes, hens don’t want to sit on their eggs, so having a homemade incubator can be a lifesaver. It’s something I learned firsthand when my hens weren’t broody, but I still wanted more chicks for my backyard farm.
With a homemade incubator, you can pick which eggs you want to hatch. This means you can choose the healthiest and strongest eggs from your best hens. I remember feeling proud when I could carefully select the eggs for my homemade incubator, knowing it would help keep my flock thriving and robust.
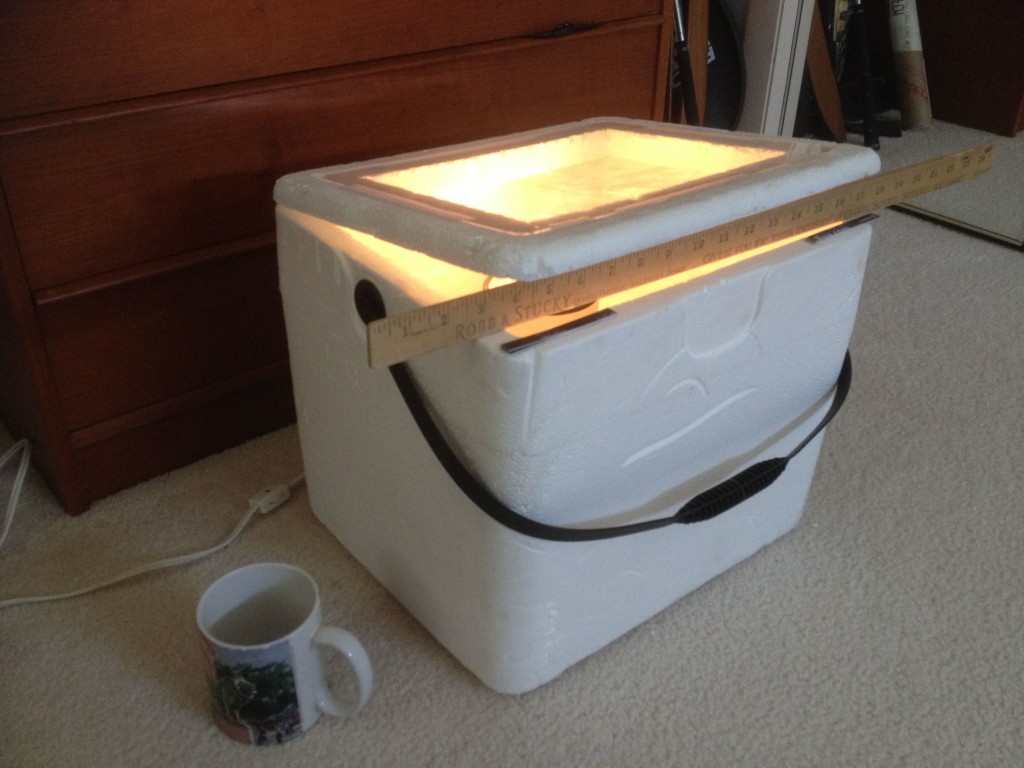
1- Open Styrofoam Homemade Egg Incubator
To create your own homemade incubator like the one from Backyard Duck, it’s surprisingly affordable, costing only $10. All you need to do is cut an opening in the top to ensure proper airflow. Using a 15-watt bulb and ensuring good ventilation, you can expect fertile eggs in just 10 days. I remember building a similar homemade incubator myself, following similar instructions, and being amazed at how well it worked for hatching chicken eggs right at home.
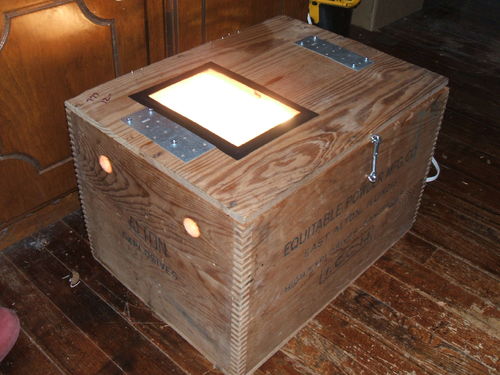
1- Wooden Box Homemade Incubator
To create your own homemade egg incubator following the backyardchickens design, start by searching for a spacious wooden box in your home or garage. If you don’t have one, consider asking around or checking local garage sales. The basic requirements for the incubator are simple: you’ll need a socket, bulbs, and a thermometer. I’d suggest carefully reading through the detailed construction steps provided on backyardchickens to ensure you’re setting up everything correctly. This way, you’ll be all set to witness the joy of chicks hatching in your homemade incubator soon.
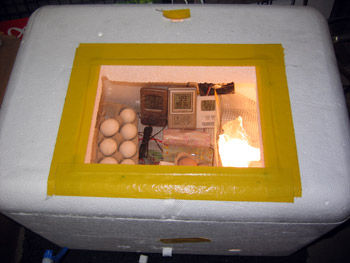
2- Styrofoam Homemade Incubator
I’ve had experience with syrofoam homemade incubators, and they can be a lifesaver if you don’t have a broody mother hen to hatch your chicken eggs. The ones from instructables offer a great option, especially if you’re on a budget, as they can be made for just $30. You’ll need to gather some spare parts from around your home, but it’s worth the investment of time and effort. Based on what I’ve learned, I’d suggest carefully following the instructions provided by instructables to ensure you build the incubator correctly and efficiently. This way, you’ll have a reliable homemade solution ready to hatch your eggs in no time.
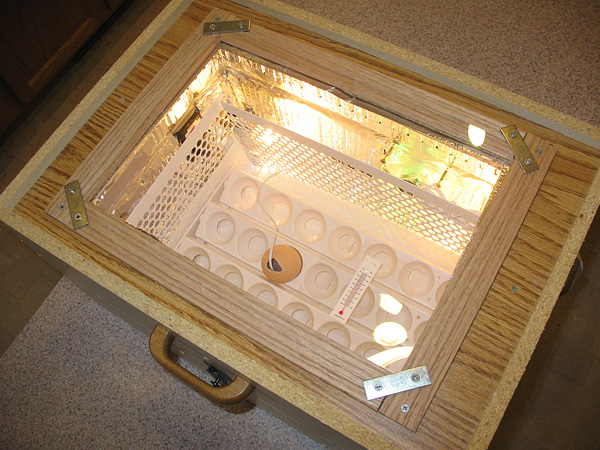
3- Homemade Drawer Incubator
We like this DIY incubator plan by backyardchickens more than the others as it has an auto turning facility for 20 eggs that is an integral part of hatching eggs. Look for identical old drawers in your storage space or buy the recycled one from the market. You need to have 2 drawers attached so that required depth can be created.
4- Styrofoam Broccoli Box Homemade Incubator
You can find it on any grocery store easily. With basic skills and simplest items you can create incubator for hatching eggs like this one by nanaglenmum with your convenience under safe conditions.
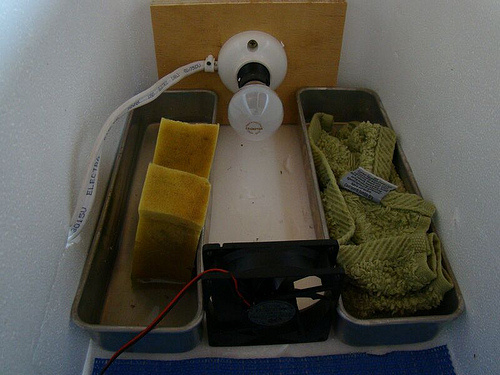
6- Vanity Cabinet Homemade Incubator
I’ve personally found the homemade incubator from Backyard Chickens to be fantastic. It offers ample space, clear viewing windows, strong ventilation, and a sleek design. In my experience, it’s perfect for handling large batches of eggs, with the capacity to hold over 200 if needed. If you’re dealing with significant hatching demands, I highly recommend considering this option. With its features and capacity, it’s a reliable choice for successfully hatching a large number of eggs.
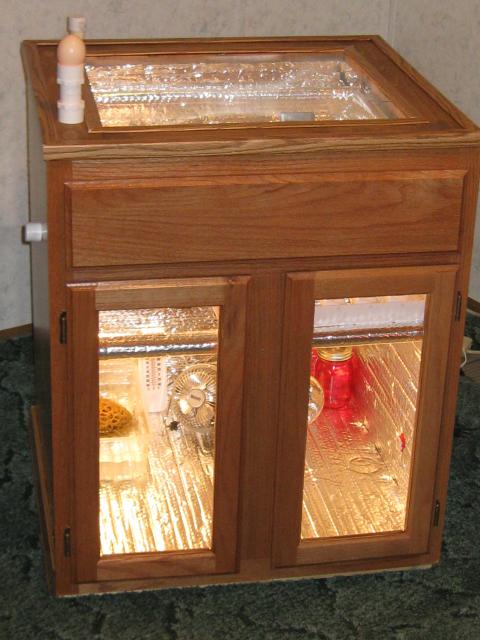
7- Inexpensive Homemade Incubators
Read good information on how different incubator plan like this one by raising-happy-chickens works and what their utility is. Not all the inexpensive plans would bring fruitful results to you; they might turn out to be a failure. Therefore, chose wisely before making the right choice so that you end up having lots of little fellows running around in your backyard. You need chick brooder when you have little chickens comes out from the incubators.
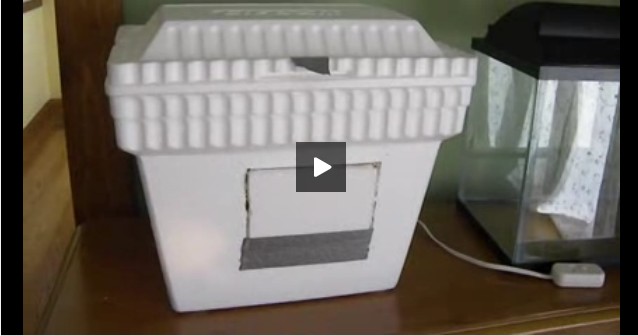
8- Styrofoam Cooler For Chickens
Understanding airflow and temperature is crucial for any successful homemade incubator project, like the one by stormthecastle. In my experience, proper bulb adjustment is key to success; otherwise, your eggs could be at risk. However, keep in mind that due to limited space, this plan may only accommodate 4 or 5 eggs at a time. If you’re fortunate, you might find a larger box at your local store to adapt the same plan. Embrace the creative process and solve your hatching needs affordably.
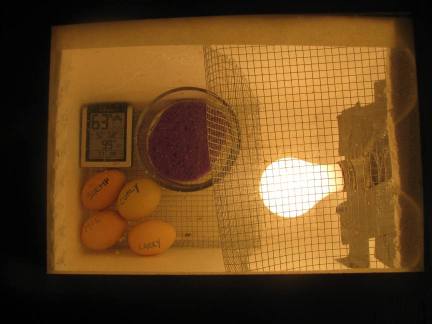
9- Styrofoam Box Homemade Incubator
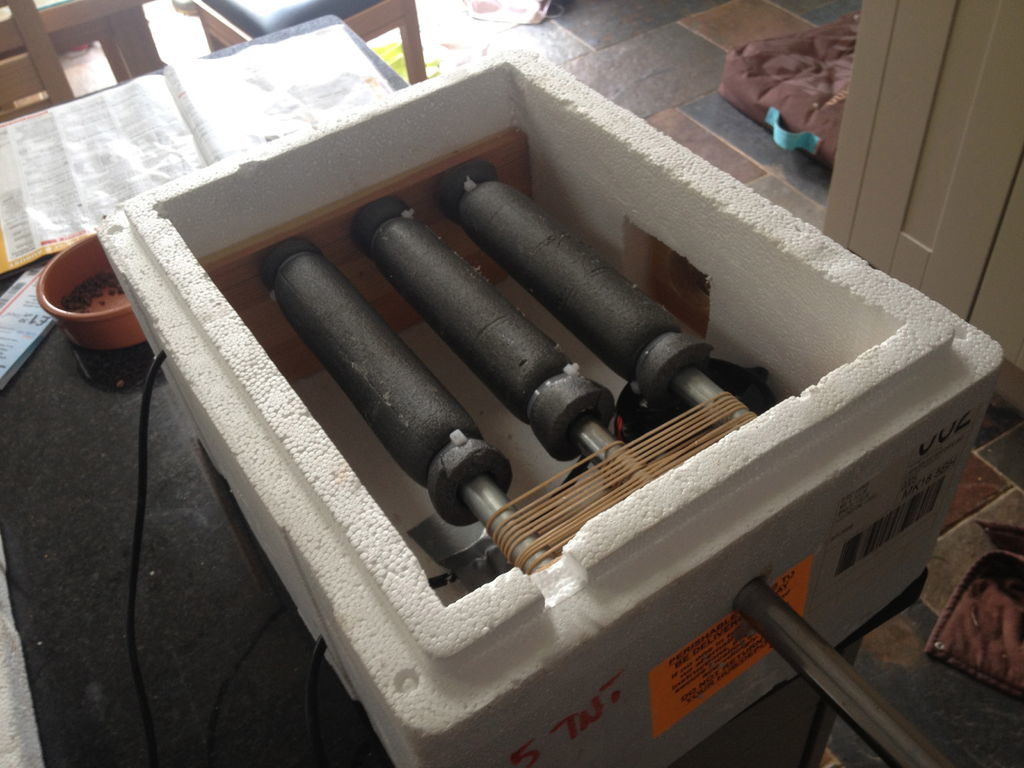
This simple idea produces great results. This homemade egg incubator by instructables starts out with an ordinary Styrofoam food cooler. Follow these easy instructions that will show you how to add a few pieces of wood and some electronics and you will have a homemade incubator that will hatch eight eggs for you.
10- Cardboard Box Incubator
11- Large Egg Box
The homemade incubator by motherearthnews is a fantastic option for those in the chick-selling business. It’s something I’ve considered myself. This large egg box can handle multi-stage incubation for up to 150 eggs simultaneously. I’ve read that it can hatch 30 eggs every day, which is impressive.
This egg hatching incubator is designed to maintain a steady temperature, making it perfect for hatching chicken, duck, or guinea eggs. Based on my knowledge, it seems like a versatile and efficient solution for hatching eggs in larger quantities. If you’re in the business of selling chicks, this incubator could greatly streamline your operations and increase your output.
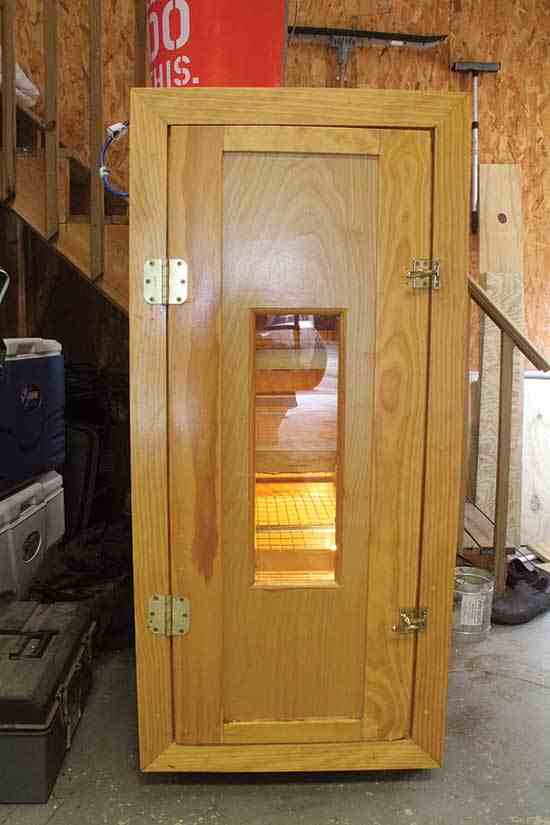
Cardboard Box Incubator, image via: motherearthnews
12- Wooden Egg Hatcher
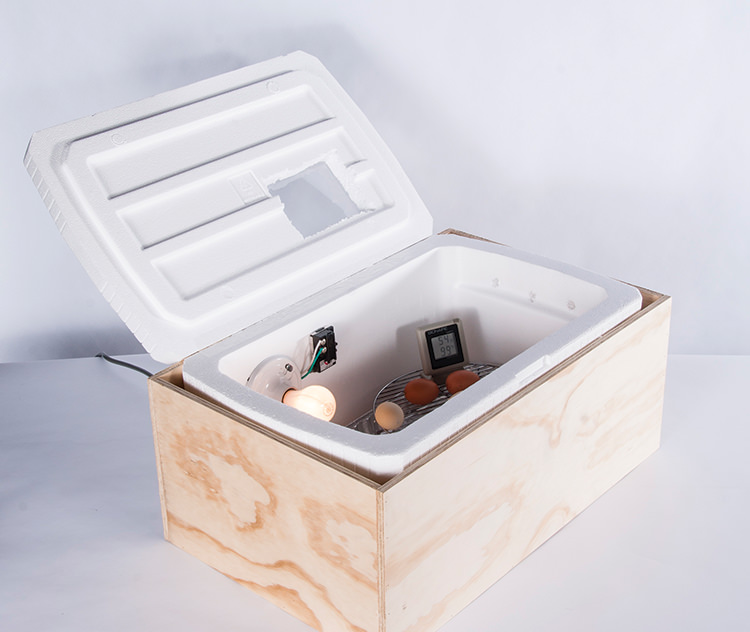
This simple and effective design will enable you to incubate and hatch a few chicken eggs during the winter as a fun family project. Follow these detailed instructions and create a DIY incubator like this one by hobbyfarms with your kids, then let the kids monitor the progress of the eggs for a few weeks until they hatch. The incubator is small enough to remain in the house, but large enough to incubate 6-8 eggs.
13- Auto Turning Hatcher
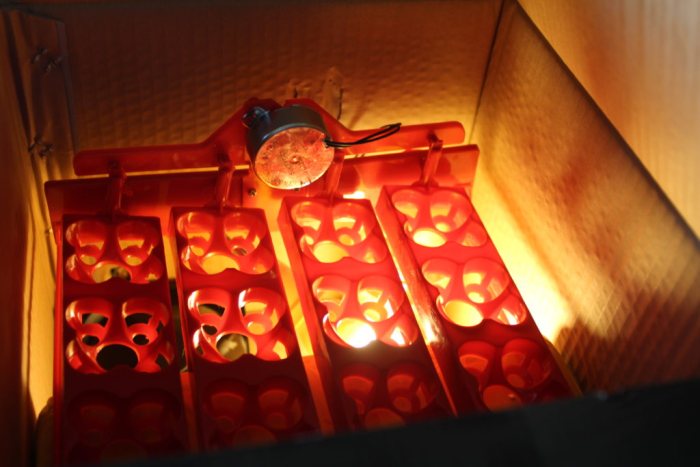
Turning eggs during the incubation process is crucial for successful hatching, but it can be time-consuming. I’ve experienced this myself. This unique design by piwakawakavalley solves that problem by gently turning the eggs automatically. It’s something I wish I had when I was hatching eggs manually.
Chicken eggs require turning three times a day throughout their three-week incubation period. For those with busy schedules, this can be quite challenging. With this auto-turning hatcher idea, you can free up valuable time while still ensuring successful hatching. Based on my knowledge, this innovation offers a convenient solution for busy poultry enthusiasts. If you’re looking to streamline your hatching process and reduce the time commitment, I highly recommend giving this idea a try.
14- Solar Powered Homemade Incubator
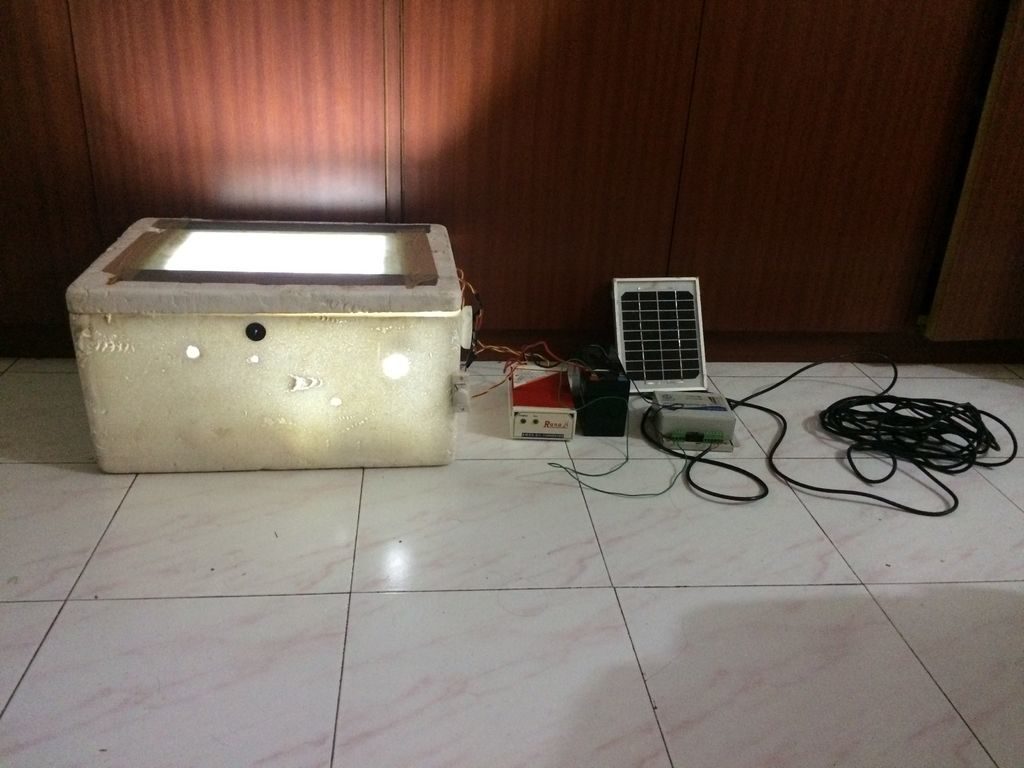
Using a solar-powered egg hatching machine like the one from instructables is a game-changer, especially for off-grid living. It’s a concept I’ve found intriguing. This innovative incubator keeps eggs at the ideal temperature range of 99 to 102 degrees Fahrenheit without relying on electricity. It’s fascinating how it utilizes renewable energy to power the incubation process.
With this solar-powered incubator, you can keep costs low while maintaining high production and profits. It’s a win-win situation that I’ve seen firsthand. By reducing reliance on electricity and utilizing solar power, you not only save money but also contribute to sustainability efforts. If you’re looking to invest in an eco-friendly and cost-effective solution for hatching eggs, this solar-powered incubator is definitely worth considering.
15- Cooler Homemade Incubator
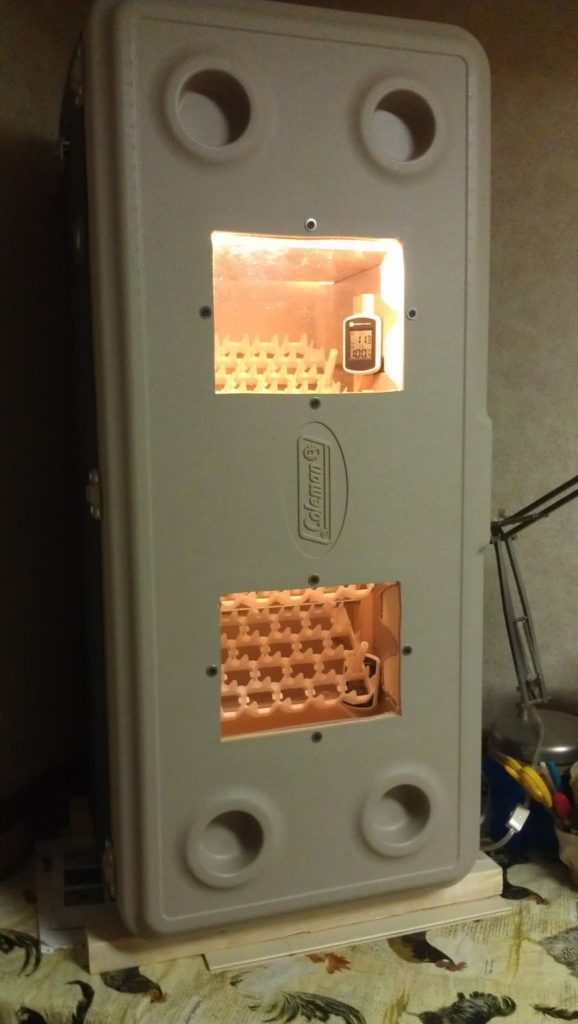
In this idea we will learn how to transform a large, ordinary, insulated cooler into a functioning homemade egg hatcher such as this one by backyardchickens. This easy to build incubator can hold and incubate several dozen eggs at a time so you can always have chicks on hand for raising or selling.
The inside rack make egg turning quick and easy. The insulated cooler helps maintain just the right internal temperature from top to bottom.
16- Freezer Homemade Incubator
Transform an old, non-working freezer into a highly efficient homemade incubator by backyardchickens with these detailed instructions. Safely and effectively incubate and hatch close to 100 eggs every few weeks with this idea. The freezer insulation will help maintain a constant interior temperature for the eggs.
If you have access to a non-working freezer, this DIY build could be almost free. All the little chicks it will enable you to hatch will be profit to you.
17- 300 Eggs
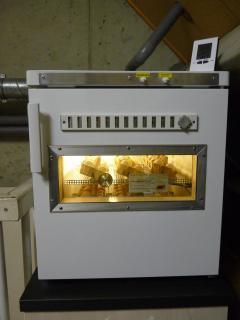
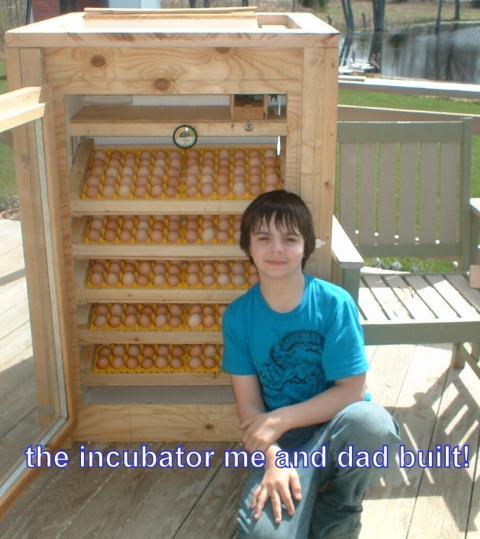
If you need a large supply of chicks on hand at all times, we highly suggest you to make this homemade incubator by backyardchickens if need to hatch large number of eggs. will meet that need. It’s a wood cabinet design that is 4 feet tall will hold 300 eggs, has automatic timer, thermostat control, circulation fan and auto rotating for the shelves.
The clear glass front allows you to see the multiple shelves holding the eggs and monitor the interior heat and humidity. Great for placement in an unheated garage or barn.
18- Hatch-O-Bator Homemade Incubator
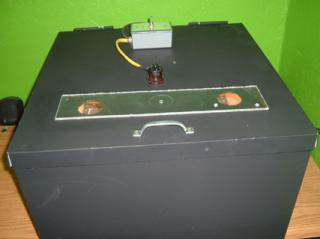
Use recycled parts to create this efficient Hatch-O-Bator that will get the job done with a minimal investment. Very little time and money will go into this DIY building project by backyardchickens yet you will reap big profits with all the chicks you will be able to hatch and sell.
The main building components are a few pieces of leftover plywood, a water heater thermostat and a couple of 15 watt light bulbs. Cheap to build and cheap to maintain.
19- Wine Cooler Homemade Incubator
20- Homemade Incubator
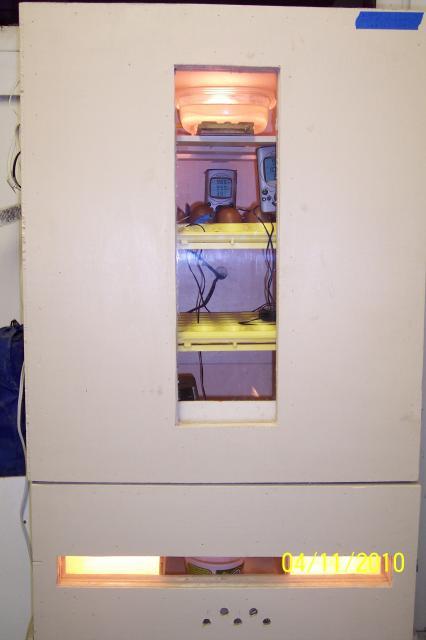
Follow these free instructions to build your own homemade incubator by backyardchickens that will hatch dozens of eggs at once. The double door design will allow you to do maintenance work in the heat chamber without losing heat in the incubator.
A printed diagram plus pictorial instructions make this DIY build simple for even beginners. If you want to hatch large quantities of chicks at once, then this egg hatcher will enable you to do so with minimal effort and expense.
21- Cabinet Style Homemade Incubator
Making an incubator like the one by rockridgefarms can be a fun project that also adds style to your home. It’s something I’ve found appealing myself. The great thing about this design is its versatility; you can hatch as many eggs as you want by adjusting the number of shelves you install. Plus, its fancy appeal allows you to place it anywhere, even in your dining hall.
Everything you need to make this incubator is readily available either at home or at a local store. This convenience makes it an accessible project for anyone interested in hatching eggs at home. The cherry finish adds a touch of elegance, making it a lively addition to any home setting.
If you’re considering building your own homemade incubator, I’d suggest giving this design a try, especially if you value both functionality and aesthetics. With its stylish appearance and practical features, it’s sure to be a conversation starter in your home.
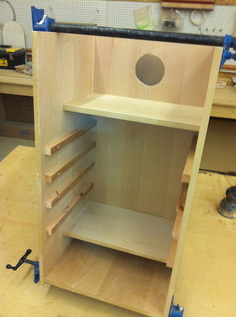
22- Wooden Board DIY Incubator
Conclusion
A homemade incubator has many benefits such as cost, custom design unlike market ones that are expensive. Making your own incubators also helps you to keep your flock size larger as broody hens are not always ready to go for brooding or less motherhood habits.
You can select any of these incubators we have shown you above that best match your needs. Hope this article has guided you well in making your own incubator.
References:
Researchgate, June 2021, International Journal of Computational Science and Engineering 24(4), “Design and implementation of chicken egg incubator for hatching using IoT”, https://www.researchgate.net/publication/352777744_Design_and_implementation_of_chicken_egg_incubator_for_hatching_using_IoT
Extention University of Missouri, Revised February 2003 “Small Flock Series: Incubation of Poultry”, https://extension.missouri.edu/publications/g8353
SSRN, 18 Mar 2021, “Development and Construction of Poultry Egg Incubator Temperature and Humidity Controller (Peitch) With SMS Notification”, https://papers.ssrn.com/sol3/papers.cfm?abstract_id=3779301
Hi Farhan, Thank you for this information on building a chicken incubator, it is very helpful. I enjoy your blog very much.
Your welcome carol!
Hello Mr. Farhan, it is really a wonderful job you are educating and helping the beginners in this highly technical field of poultry farming and allied fields. Accept my congratulation in this regard. Now I want to know that how would I purchased a cheaper and reliable incubator for hatching quail eggs or budgerigar eggs. Please help me if there is an incubator having capacity of 100 eggs.
Regards,
Muhammad Tariq shah
Thanks Tariq for ur valuable comments. You can make ur own cheap incubator using the above plans if u have little do it yourself skills or you can buy a cheap incubator at http://www.pkbuysell.com/Search/q=Incubator+For+Hatching+Eggs&id=81 or https://www.olx.com.pk/all-results/q-egg-incubator/
I use a large stand-up refrigerator to incubate my reptile eggs. Its heated with a couple ceramic heating elements controlled by a thermostat and rheostat. It has a 12v fan that comes on when the thermostat is on.